How to set up your sales pipeline in startbuddi

A sales pipeline shows every deal you are working on, grouped by how close it is to being paid. In startbuddi it lives under Customers, in Deals and Pipeline. Every account starts with a ready-made pipeline called Sales Pipeline, with six stages: New Leads, Qualified, Proposal Sent, Negotiation, Won and Lost.
Pipelines are available on every plan, including Free. Creating and managing extra pipelines is done from Manage Pipelines. If the idea is new to you, read what a sales pipeline is first.
Plan your sales pipeline stages first
Keep stages few and clear. Each one should describe something the customer has done, not something you hope for. A cleaning company might use Enquiry, Site visit booked, Quote sent, Accepted, Won and Lost. A designer might use Brief received, Proposal sent, Deposit paid, Won and Lost. Five to seven stages is plenty for most small businesses.
Steps
- Open your pipeline
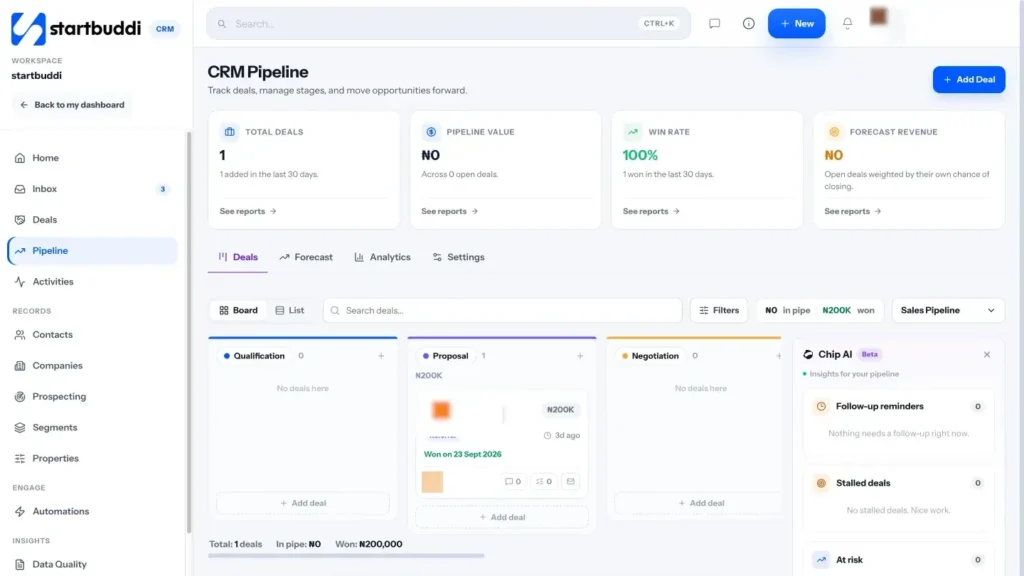
Go to Customers and click Pipeline. The board shows one column per stage, with the total value of the deals in each. The tabs along the top are Deals, Forecast, Analytics and Settings.
- Rename or add stages
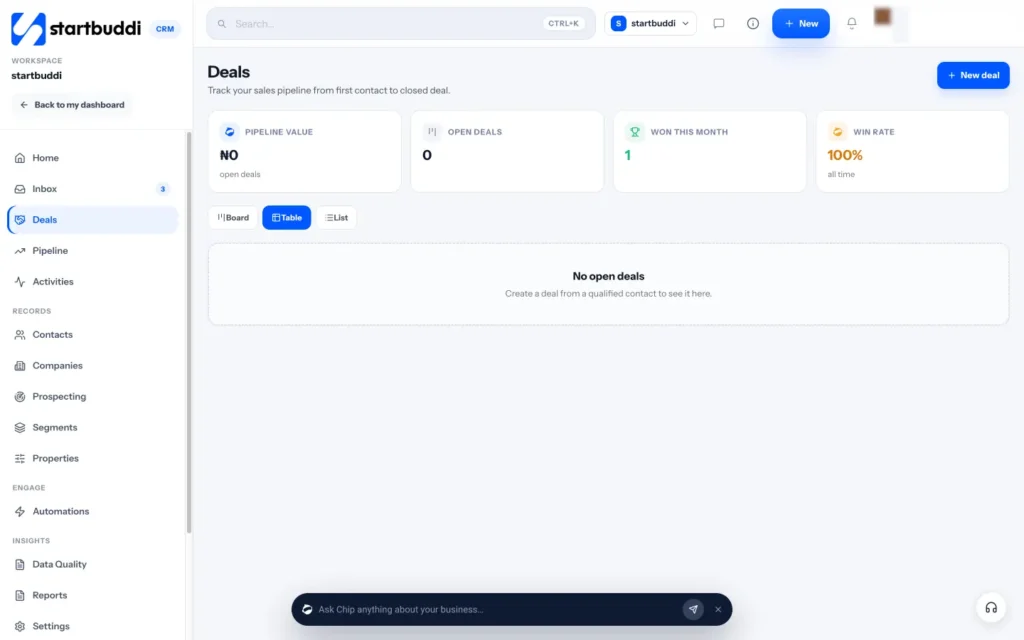
Open Deals in the menu and switch to the board. Double-click any column title to rename it, and use Add stage to add a new column. Deleting a stage removes the column only: deals are never deleted with a stage.
For a full rebuild, use Manage Pipelines and its Stage Builder, where you can add, reorder and colour-code stages.
- Add a deal
On the Pipeline page, click Add Deal. Fill in Deal Name, Contact, Deal Value, Pipeline and Stage. Expected Close Date, Owner, Probability, Tags and Notes are optional.
The Chip panel beside the form (Beta) suggests the likely next stage once you pick one. Click Save Deal.
- Move deals and close them
Drag a deal card to the next column as things progress. When a deal is done, open it and choose Mark as won or Mark as lost. You can add a reason for a lost deal, such as budget or timing, which helps you spot patterns later.
- Let the pipeline keep itself current
Click Manage Pipelines, choose Edit Pipeline on your pipeline and, under Pipeline Settings, turn on Keep it current automatically. With it on, a deal moves out of the first stage when the contact replies, and is marked won when an invoice on that deal is paid. Every move is written to the deal's history with the reason.
You can also turn on Require close reason for Lost and Set as default pipeline here, then click Save Changes.
- Add a second pipeline if you need one
If you sell very different things, such as new projects and renewals, click Manage Pipelines, then Add New Pipeline. Give it a Pipeline Name, a purpose, an owner, visibility (Organization or Private) and a currency, build its stages, then click Create Pipeline. Switch between pipelines with the selector on the Deals and Pipeline pages.
Troubleshooting
I deleted a stage. Where did its deals go?
Deals are never deleted with a stage. Check the other columns, or use the stage filter on the Deals page to find deals without a stage and drag them where they belong.
A deal was marked won on its own. Why?
Keep it current automatically is switched on for that pipeline, and an invoice linked to the deal was paid. The deal's history shows the reason. Turn the setting off in Manage Pipelines if you prefer to close deals by hand.
The forecast number looks different from my pipeline total.
The forecast weights each open deal by its probability, and a deal with no probability set counts at 50%. The pipeline value is the plain total of all open deals. Set a probability on each deal for a truer forecast.
Tiwalade Joanna Okedara-Kalu is the founder, CEO and CTO of startbuddi, the business system that brings clients, bookings, invoices, projects, marketing and the Chip AI assistant into one place. Tiwalade builds software around how service businesses really work day to day, and writes about client management, getting paid on time and why small businesses outgrow the tools they start with.
Founded startbuddi and leads its product and engineering