How to Create a Form in startbuddi
If you are reading this means you have have created your startbuddi account and completed your workspace setup and you want to collect inquiries, book consultations, or gather customer information professionally, startbuddi makes it easy to create a form directly from your dashboard.
Whether you are a coach, consultant, clinic owner, freelancer, or service provider, learning how to create a form properly can help you organize leads, automate communication, and improve client experience
In this guide, you’ll learn exactly how to create a form in StartBuddi step by step, from logging into your dashboard to customizing your form fields and publishing the final version.
Step 1: Log Into Your StartBuddi Dashboard
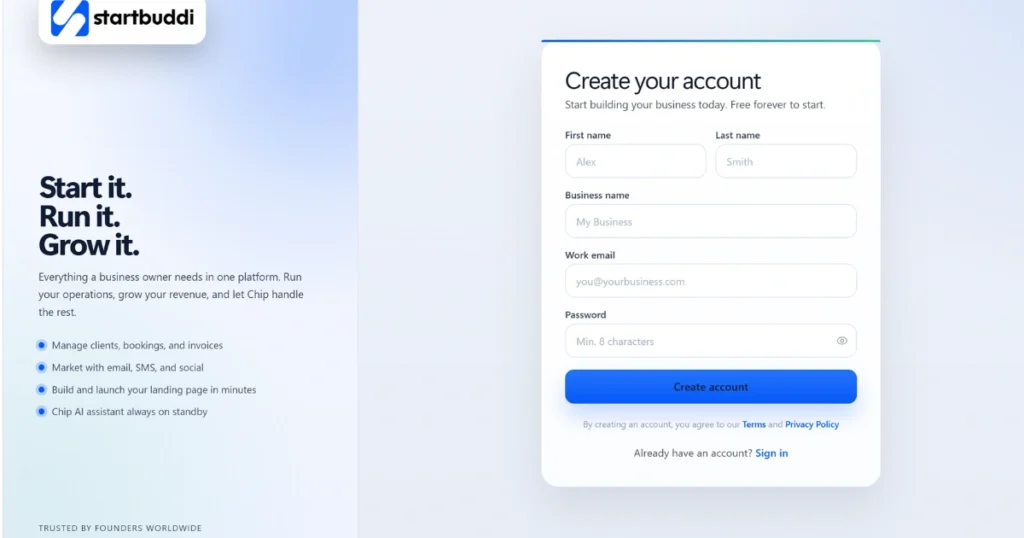
The first step to create a form is logging into your startbuddi account.
Start by entering your username and password on the login page. Once you successfully log in, you’ll be redirected to your dashboard.
Your dashboard is where you manage everything, including forms, bookings, clients, workflows, and automations.
On the left-hand side of the dashboard, you’ll see different menu options. Look for the section labeled:
Create Form
Clicking this button takes you directly into the form creation setup.
This is the starting point whenever you want to create inquiry forms, booking forms, consultation forms, onboarding forms, or client intake forms.
Step 2: Open the Form Details Section

After clicking Create Form, you’ll enter the Form Details section.
This section is designed to help you start with the basics before building your form.
You’ll first see a message encouraging you to choose the structure you want the builder to open with. This simply means selecting the type of form template you want to start from.
Enter Your Form Name
The first thing you need to add is your form name.
For example:
- Microneedling Consultation
- Book a Discovery Call
- Client Inquiry Form
- Coaching Application Form
Your form name should clearly explain what the form is about so visitors immediately understand its purpose.
Example:
Form Name: Microneedling
Step 3: Add a Form Description
The next section allows you to enter a description.
Although this part is optional, it is highly recommended because it gives users additional context before they fill out the form.
A good description helps people understand:
- Why they are filling out the form
- What happens after submission
- What information they should provide
Example description:
“Collect inquiries from your website and allow potential clients to book consultations easily.”
A clear description improves trust and increases form completion rates.
Step 4: Choose a Template
One of the best features in startbuddi is the template library.
Instead of building from scratch, you can select ready-made templates to speed up the process when you create a form.
You’ll notice different template categories, including:
- All Templates
- Workplace Templates
- Public Templates
- Sales Templates
- Operational Templates
- Educational Templates
Each category is designed for different business needs.
Select a Book a Call Template
If your goal is to allow clients to schedule consultations or inquiries, choose a:
Book a Call Template
This template is ideal for:
- Discovery calls
- Consultations
- Service inquiries
- Coaching sessions
- Beauty appointments
- Business meetings
Click on the Book a Call Template option to continue.
Step 5: Create and Open the Builder
After selecting your template, move to the right-hand side of the screen.
You’ll now see the option:
Create and Open Builder
Click this button.
This action opens the form builder where you can customize your form fields and structure.
The builder is where the real customization happens.
This step is important because it allows you to fully personalize the form to match your business needs.
Step 6: Add Your Form Fields
Now it’s time to add the information fields users will fill out.
When you create a form, the fields you choose determine the kind of information you collect from your clients or leads.
Here are the recommended fields for a booking or inquiry form:
Full Name
This field collects the client’s complete name.
It helps you identify who submitted the form and personalize future communication.
Email Address
The email field is essential because it allows you to:
- Send confirmations
- Follow up with leads
- Share appointment details
- Continue communication
Always make this field required.
Phone Number
The phone number field allows clients to provide direct contact information.
This is useful for:
- Appointment reminders
- Urgent updates
- Follow-up calls
- Client support
Preferred Date
This field allows users to choose their preferred booking or consultation date.
It helps organize scheduling and improves client convenience.
What Is This About?
This section gives clients the opportunity to explain their inquiry or reason for booking.
For example:
- Skin consultation
- Business strategy session
- Coaching inquiry
- Service questions
This helps you prepare before the appointment.
Anything We Should Know Beforehand?
This field is useful for collecting additional details.
Clients can include:
- Special requests
- Important background information
- Goals or concerns
- Questions before the session
This helps create a more personalized experience.
Step 7: Create the Form
Once all your fields are added, review everything carefully.
Check:
- Form name
- Description
- Field order
- Required fields
- Spelling and formatting
After reviewing, click:
Create Form
Your form is now successfully created.
You can now:
- Share the form link
- Add it to your website
- Use it for bookings
- Collect client inquiries
- Automate lead collection
Conclusion
Learning how to create a form in startbuddi is simple once you understand the process step by step. From selecting templates to customizing fields, the platform makes it easy to build professional forms for your business.
Whether you need a booking form, inquiry form, consultation form, or onboarding form, startbuddi gives you the flexibility to create forms that match your workflow and improve client communication.
The more organized your forms are, the easier it becomes to manage leads, schedule appointments, and grow your business efficiently.