How to Create a New Campaign on StartBuddi
If you want to reach your audience with a professional, personalized email, StartBuddi makes the whole process simple and fast. Whether you are announcing a new offer, launching a product, or trying to win back inactive subscribers, you can create a new campaign in just a few clicks. This guide will walk you through every step so you can get your message out without any stress.
Getting Started on Your Dashboard
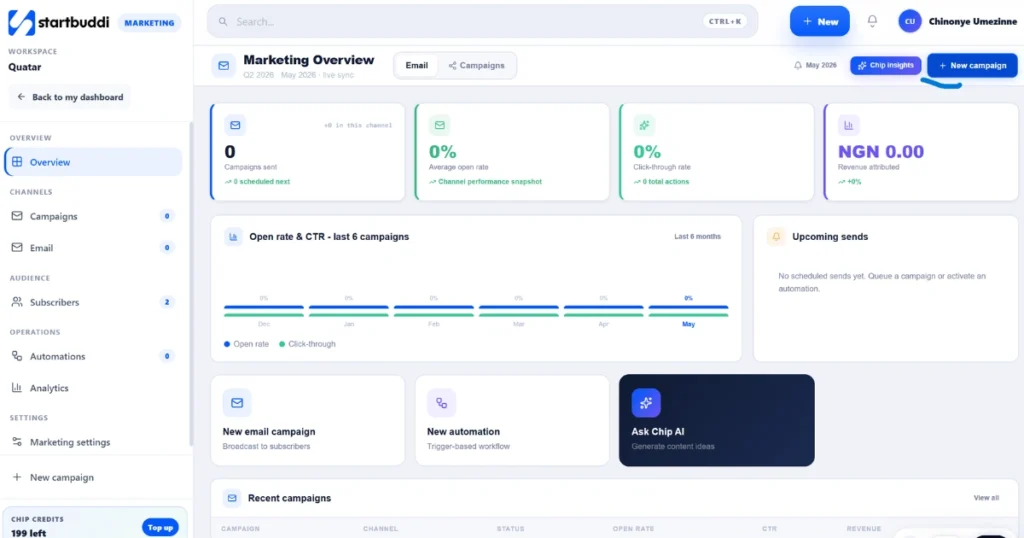
The first thing you need to do is log in to your startbuddi account and go to your dashboard. If you have not set up your account yet, you can follow this guide on how to create a startbuddi account to get started. From the dashboard, look for the Marketing Hub section and click on it. Marketing Hub is where all your email marketing tools live. Once you are in the Marketing Hub, you will see a button that says “New Campaign.” Click on that button and you are ready to begin.
Understanding the Campaign Screen
When you click New Campaign, the platform takes you to a screen that has two main sections: Content and Recipient Settings. Both sections are important and work together to make sure your email looks great and reaches the right people.
The Recipient Settings section is where you choose who will receive your email. Before you start building your campaign, make sure you have already added your contacts to startbuddi.
If you are still getting familiar with how everything is organized, it helps to first go through the startbuddi workspace setup guide so your account is properly configured before you send your first campaign. Each contact should have their email address, first name, and last name saved in the system. This information is what allows startbuddi to personalize every email it sends on your behalf.
Filling in Your Content
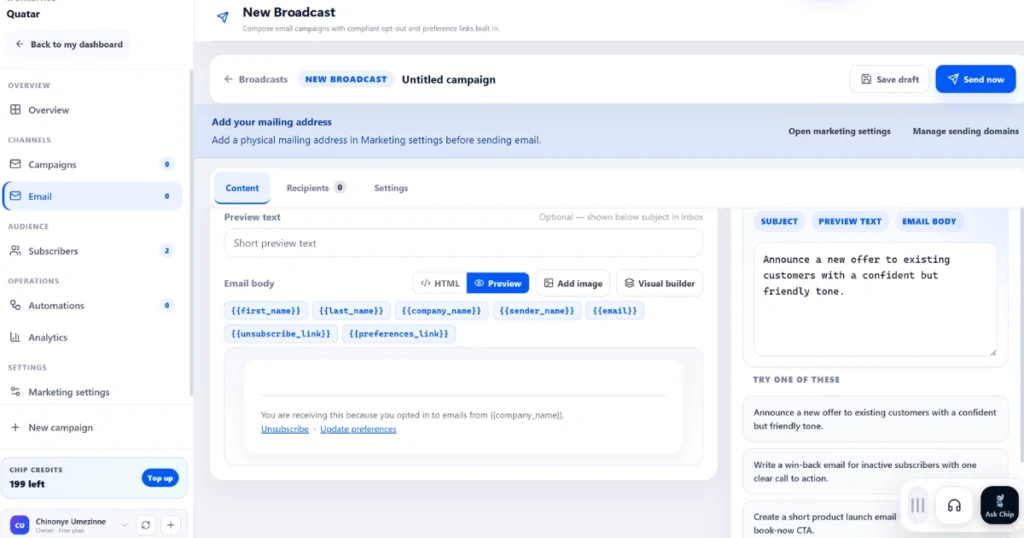
In the Content section, you will fill in your subject line and your preview text. The subject line is the first thing your reader sees in their inbox, so make it clear and interesting. The preview text is the short line of text that appears just below the subject line in most email apps. Together, these two things determine whether someone opens your email or ignores it.
StartBuddi also lets you personalize your emails using the first name and last name of each contact. So instead of sending a generic greeting, your email can say something like “Hi John” at the top. This small detail makes a big difference because people are more likely to engage with an email that feels like it was written just for them.
Adding Images with the Visual Builder
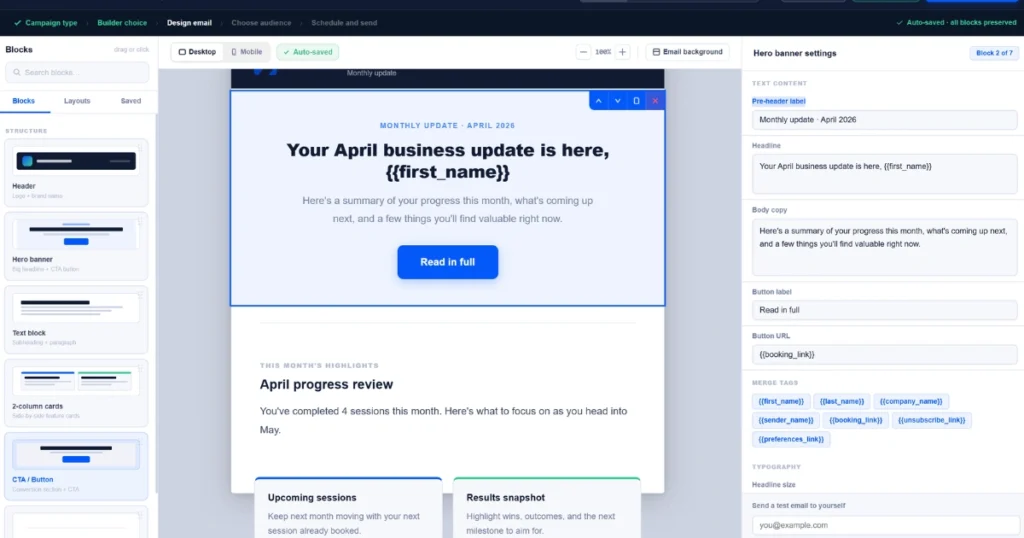
Once your text content is in place, you can use the visual builder to design your email. The visual builder has simple fields for you to fill in, including the pre-header, label, headline, body copy, button label, and button URL. The pre-header is the short text your reader sees in their inbox before opening the email.
The headline is the first thing they see inside the email, and the body copy is where your main message goes. The button label and button URL work together to send your reader to wherever you want them to go, whether that is your website, a product page, or a special offer.
Using StartBuddi Chip AI to Write Your Email
Here is where things get really exciting. If you are not sure what to write or you just want to save time, you can use startbuddi Chip AI to draft your entire email for you. startbuddi Chip AI is a built-in writing assistant that creates professional email content based on a simple instruction you give it.
All you have to do is tell startbuddi Chip AI what you need. Here are three examples of instructions you can give it:
“Announce a new offer to existing customers with a confident but friendly tone.”
“Write a win-back email for inactive subscribers with one call-to-action.”
“Create a short product launch email with three benefits.”
Once you give startbuddi Chip AI your instruction, it gets to work right away. In about 20 seconds or less, it will generate a complete email for you, including the subject line, the preview text, and the full email body. You do not have to write a single word yourself if you do not want to.
Sending Your Campaign
Once you are happy with how everything looks, all that is left to do is send it. Click the “Send Now” button and your email campaign will go out to all your selected recipients. It really is that straightforward.
Conclusion
startbuddi is built to make email marketing accessible for everyone, whether you are a seasoned marketer or just getting started. When you create a new campaign using the tools inside Marketing Hub, especially with the help of startbuddi Chip AI, you can produce professional, personalized emails in a matter of minutes. No writing experience needed, no complicated steps, just results.
So go ahead and create a new campaign today and see how easy it is to connect with your audience on startbuddi.
makes the whole process simple and fast. Whether you are announcing a new offer, launching a product, or trying to win back inactive subscribers, you can create a new campaign in just a few clicks. This guide will walk you through every step so you can get your message out without any stress.