How to Complete Your startbuddi Workspace Setup
Getting started with a new tool can feel confusing. But the startbuddi workspace setup is built to be simple, clear, and strategic. Instead of dumping you into a blank dashboard, it guides you through a series of focused steps, each one designed to make your workspace work for your specific business.
This startbuddi onboarding guide walks you through every stage, from entering your basic details to clicking “Build My Workspace.”
Step 1: Profile – Set the Foundation
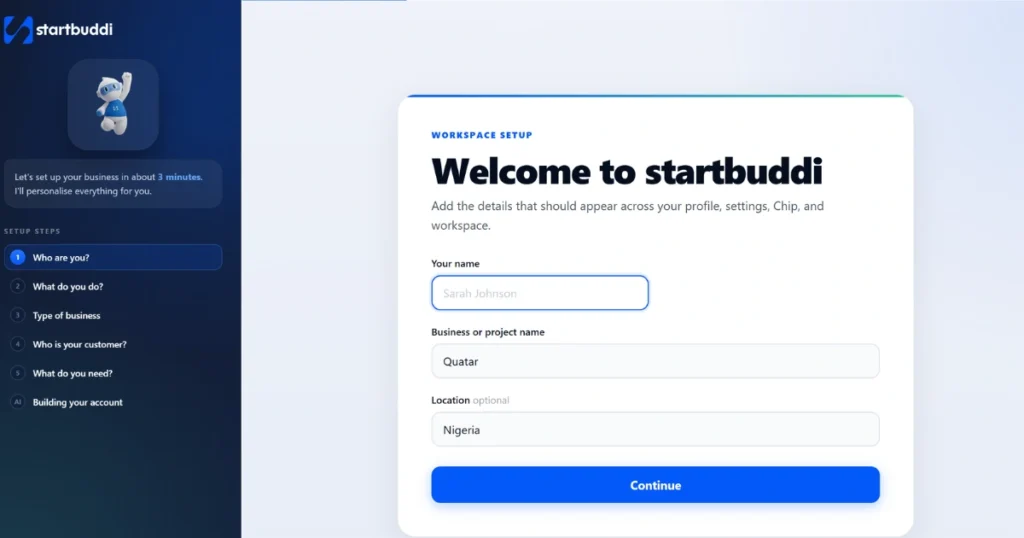
The first part of the startbuddi workspace setup asks for your core information. You’ll need to enter:
- Your name
- Your business or project name
- Your location
These three details lay the foundation of your workspace. The platform uses them to personalise your experience from the very start. Keep everything simple and accurate. This is where the setup begins.
Step 2: Offer – What Do You Do?

Next, you’ll define your offer. Understanding how to define business offer clearly is key here because you only get one sentence to explain what you do.
No lengthy descriptions. No complicated language. Just one direct statement that captures your business.
For example: “I help small businesses attract more customers online.”
That’s the level of simplicity you’re aiming for. If you find it hard to write, that’s okay. This step is there to help you get it right.
Step 3: Industry – Choose Your Work Type
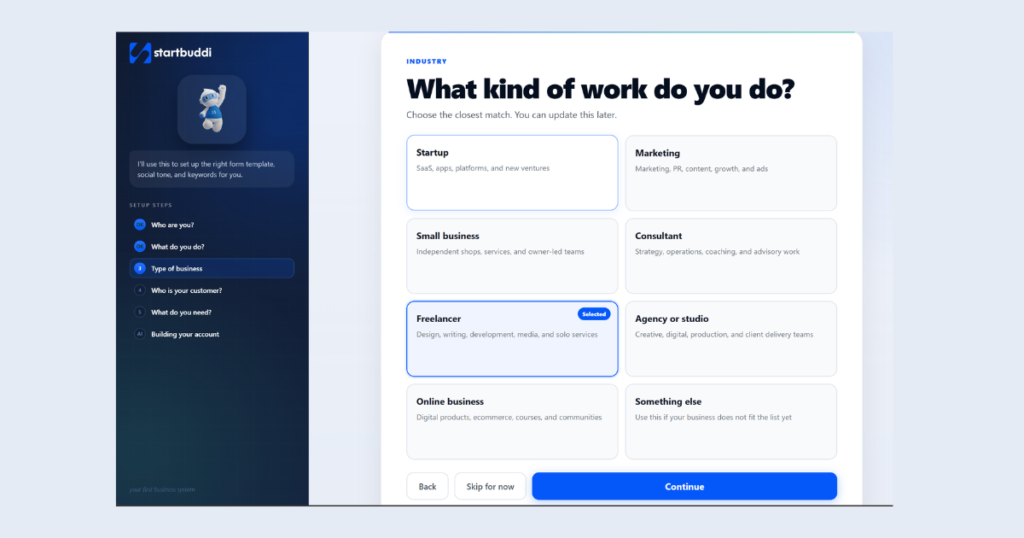
This step is about choosing business industry type. You’ll be asked one question: “What kind of work do you do?”
Your options are:
- Startup
- Small business
- Freelancer
- Online business
- Marketing
- Consultant
- Agency
- Other
If you need a freelancer workspace setup, select “Freelancer.” Running a small business? Choose “Small business.” Just pick the closest match. There’s no wrong answer here.
Step 4: Customers – Who Do You Sell To?
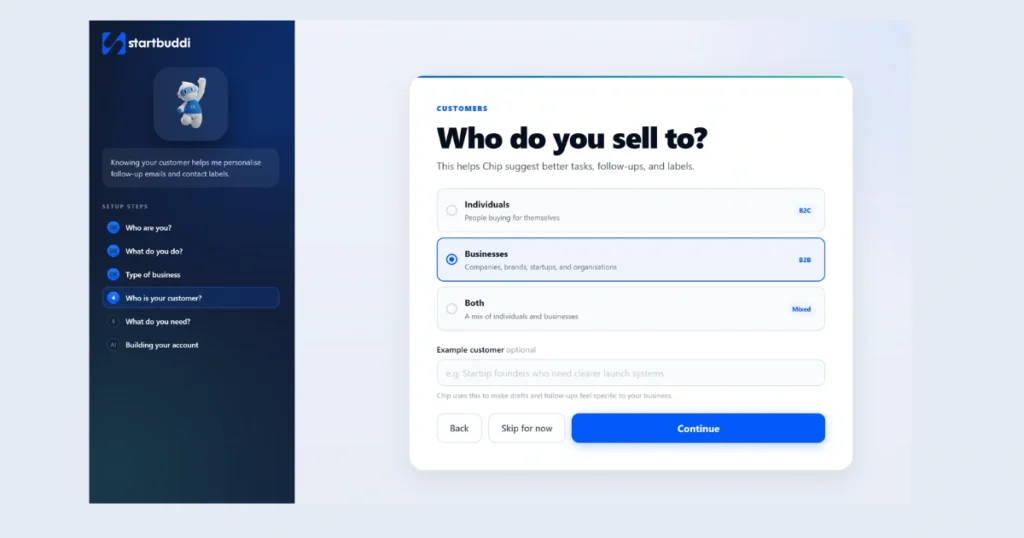
This step focuses on identifying target customers for your business. You’ll answer one question: “Who do you sell to?”
Your choices are:
- Individuals
- Businesses
- Both
This is more important than it looks. Your answer directly shapes how your workspace is structured. Selling to businesses works differently from selling to individuals, and the platform adjusts accordingly. Be honest. This one choice has a real impact on what you see going forward.
Step 5: Goals – The Strategic Core
This is the most important part of the startbuddi workspace setup, and it’s what makes it stand out from a standard CRM workspace setup guide.
Most tools just hand you a dashboard. startbuddi asks you to think first. This is where the small business onboarding process becomes genuinely strategic. You’ll answer four key questions before anything is built.
1. What Matters Most Right Now?
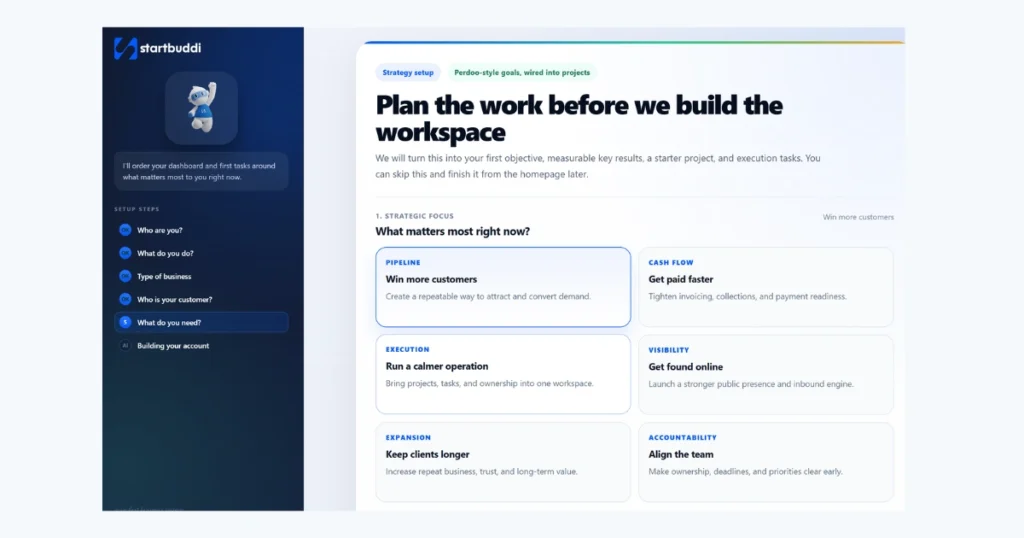
Choose your current priorities. Options include:
- Getting paid faster
- Being found online
- Running smoother operations
- Keeping customers longer
- Winning more customers
- Aligning the team
Pick the ones that reflect where your business is today.
2. What Outcome Should the Workspace Drive?
This is your primary objective. It answers: “What does success look like?” Define the main result you want your workspace to help you achieve.
3. Real Results: How Will You Measure Progress?
Goal setting for business tools only works when you attach real numbers to it. Here, you’ll choose your success metric:
- Revenue
- Leads
- Conversion rate
- Customer retention
Pick the metric that matches your goal above.
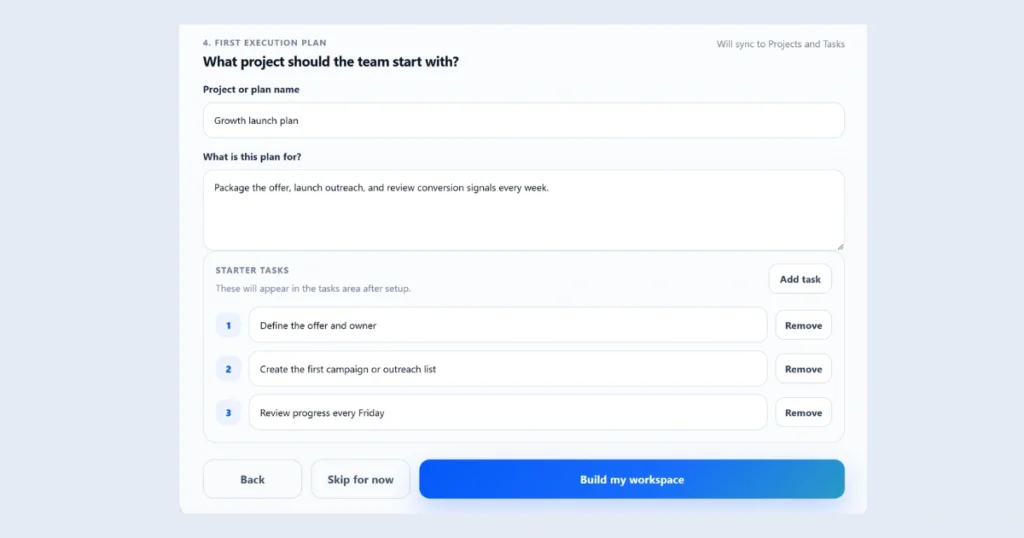
4. First Execution Plan
Finally, decide what project you’re starting first and outline your initial plan. This step ensures you don’t just set goals and walk away. It locks in immediate action from day one.
Final Step: Build Your Workspace
Once you’ve completed all five steps, click “Build My Workspace.”
Your dashboard is created instantly, built around every answer you gave. This is what makes the business workspace setup steps on startbuddi so effective. You’re not launching an empty tool. You’re activating a workspace that already understands your business, your customers, and your goals.